Restoring a Vintage Camera: A Step-by-Step Guide
Bringing a piece of photography history back to life can be a deeply rewarding experience. Restoring a vintage camera isn't just about fixing it; it’s about preserving a tangible connection to the past. This guide provides a detailed, step-by-step approach to restoring antique cameras, covering everything from gentle cleaning to more involved repairs. Please read the safety warnings at the end of this guide before you begin.
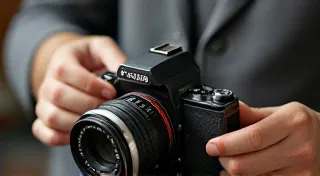
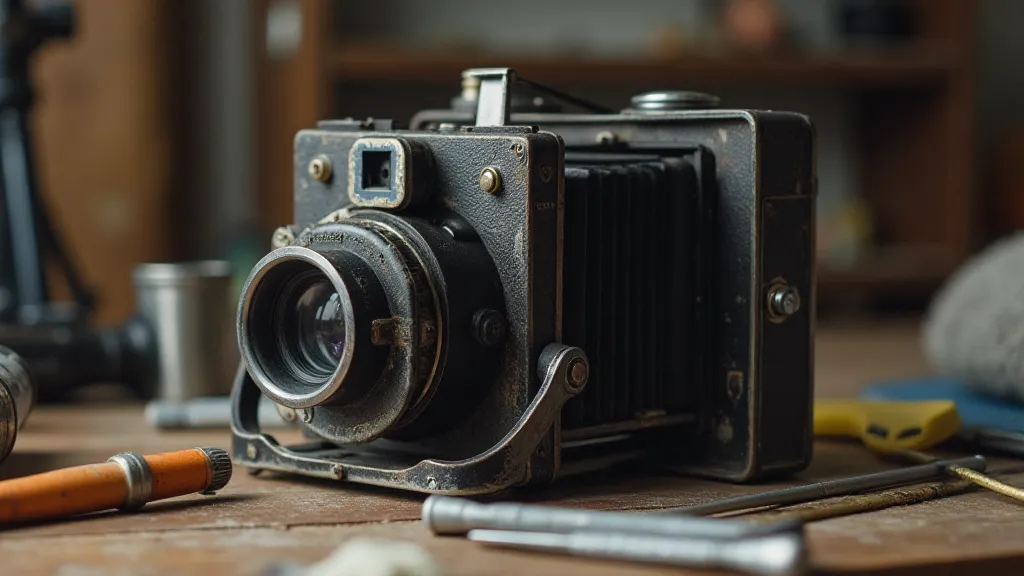
Step 1: Assessment and Documentation
Before you even touch a single tool, carefully assess the camera’s condition. Note every scratch, dent, and area of corrosion. Take detailed photographs from all angles. This documentation serves as a baseline and is invaluable if you need to reverse any steps or consult with other collectors. Understanding the camera’s model is also critical; identify it accurately to source correct replacement parts and understand its specific mechanics. The intricacies of camera design and function are truly remarkable; understanding understanding camera shutters, their types, and mechanisms can significantly aid in diagnosing issues during the restoration process.
Step 2: Gentle Cleaning – The First Defense
Most vintage cameras just need a good cleaning. Start with the gentlest methods possible. Use a soft, dry microfiber cloth to remove surface dust and grime. For more stubborn dirt, slightly dampen the cloth with distilled water – never use tap water, as the minerals can leave residue and cause further corrosion. Avoid getting water inside the camera body or lens. A very soft brush (like a sable brush used for painting) can help dislodge dust from crevices. The accumulated grime and dust don't just affect the aesthetics; they can also impact the internal workings, potentially affecting shutter accuracy and lens clarity. Consider, too, how the overall design and engineering contribute to the camera’s historical significance, often reflected in the care and precision of the parts – a theme explored in more depth in guides dedicated to specific camera models.
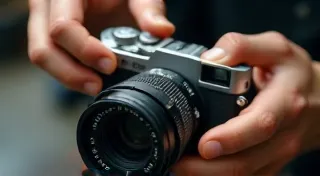
Step 3: Lens Cleaning – A Delicate Operation
Lens cleaning is crucial but requires extra care. Use a dedicated lens cleaning solution and lens cleaning tissues. Apply a single drop of solution to the tissue (not directly onto the lens) and gently wipe in a circular motion, starting from the center and moving outwards. Avoid harsh scrubbing, as this can scratch the lens coating. If the lens has fungus, this requires more aggressive treatment, best left to a specialist – see the 'Advanced Considerations' section.
Step 4: Lubrication – Bringing Movement Back to Life
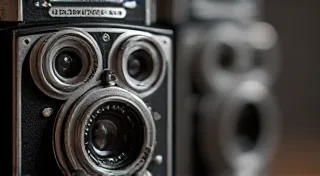
Vintage cameras often suffer from dried-up lubricants. Apply a tiny amount of specialized camera lubricant (available from photography supply stores) to moving parts like gears and levers. Less is more! Too much lubricant attracts dust and grime. Use a fine oil applicator (like a toothpick) to apply the lubricant precisely. This will help to get all moving parts work more smoothly. Proper lubrication isn’s just about smoothness; it’s about prolonging the life of intricate mechanisms. The quality of these mechanisms has influenced generations of photographic innovation, a quality also celebrated in dedicated articles exploring iconic camera systems like the Rolleiflex, a testament to enduring design and engineering.
Step 5: Addressing Minor Damage – Careful Repairs
Minor cosmetic damage like small dents or scratches can often be addressed with careful polishing. Use fine-grit polishing compounds designed for metal and follow the manufacturer’s instructions. Avoid aggressive polishing, which can remove original finishes and devalue the camera. Replacement of leatherette or bellows can be done at home if you have experience with these crafts; otherwise, seek professional help. Understanding the historical context of these materials and finishes, their manufacturing processes, and their contribution to the camera’s aesthetic appeal can significantly enhance the restoration experience. It's often fascinating to see how design principles and manufacturing techniques have evolved, impacting not just the camera’s appearance but also its functionality.

Step 6: Bellows Repair (If Needed)
Bellows are frequently the first part to fail. If the bellows have pinholes, a repair is possible. There are repair kits available that involve applying a special cement to patch the holes. However, if the bellows are significantly damaged or degraded, replacement is usually the best option. Consider having this done by a professional, as bellows replacement is a delicate process. The material used for bellows has varied over time, each with its own unique characteristics and challenges for restoration. Consider the historical significance of these changes - from early leather bellows to more modern synthetic materials.
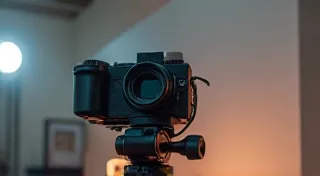
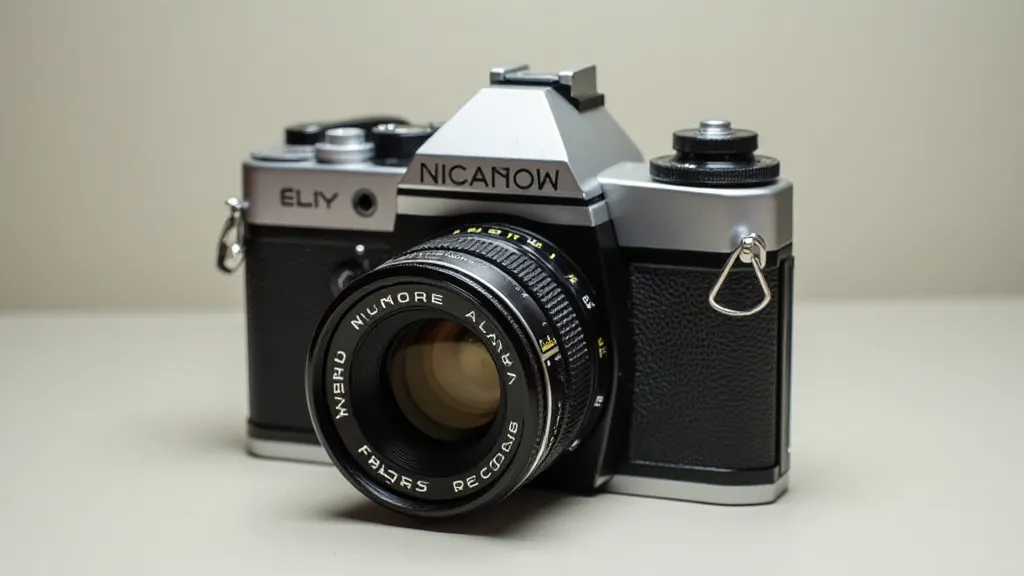
Step 7: Final Inspection and Adjustment
Once you're satisfied with the repairs, perform a thorough final inspection. Check the shutter speed accuracy, lens alignment, and overall functionality. Make any necessary adjustments to ensure the camera operates as intended. A few test shots with film (or a digital adapter if available) are a good way to confirm everything is working correctly. It’s important to not just get the camera working, but to understand *why* it’s working and to document the process for future reference. This attention to detail is consistent with the philosophies behind camera design and manufacturing, ensuring longevity and reliability.
Advanced Considerations
- Fungus Removal: Lens fungus can be difficult to remove completely. Specialized fungus removers are available, but they can damage coatings. Consider professional cleaning. The presence of fungus is a reminder of the environmental conditions these cameras have endured, highlighting the importance of proper storage and care.
- Shutter Repair: Shutter problems often require specialized tools and expertise. It's generally best to seek professional assistance for shutter repairs. The shutter mechanism represents a complex interplay of mechanical components, and its proper functioning is vital for achieving accurate exposures.
- Parts Sourcing: Finding replacement parts for antique cameras can be challenging. Online forums and camera repair specialists are good resources. Sourcing original parts is ideal for maintaining authenticity, but reproduction parts can be a viable alternative when originals are unavailable.
- Understanding Camera Markings: Identifying unique markings and stamps on a camera can provide valuable clues about its history, manufacturing location, and original owner. For deeper dive on this fascinating topic, refer to Identifying Antique Camera Markings.
- Medium Format Excellence: Cameras like the Hasselblad demonstrate the pinnacle of precision and quality in medium format photography. Explore its legacy further.
Safety Warnings
- Work in a well-ventilated area when using cleaning solvents or lubricants.
- Wear gloves to protect your skin.
- Be careful when handling sharp tools.
- Always unplug any power sources before working on electrical components.
- If you're unsure about any aspect of the restoration process, consult a professional.
Restoring vintage cameras isn't just about mechanics; it's about connecting with a history of innovation and craftsmanship. The journey requires patience, attention to detail, and a genuine appreciation for the artistry that went into creating these remarkable machines. From the elegant design of the lenses to the intricate workings of the shutter mechanism, every component tells a story of a bygone era. This restoration guide is intended to be a starting point, and there’s much more to discover about the world of vintage cameras.