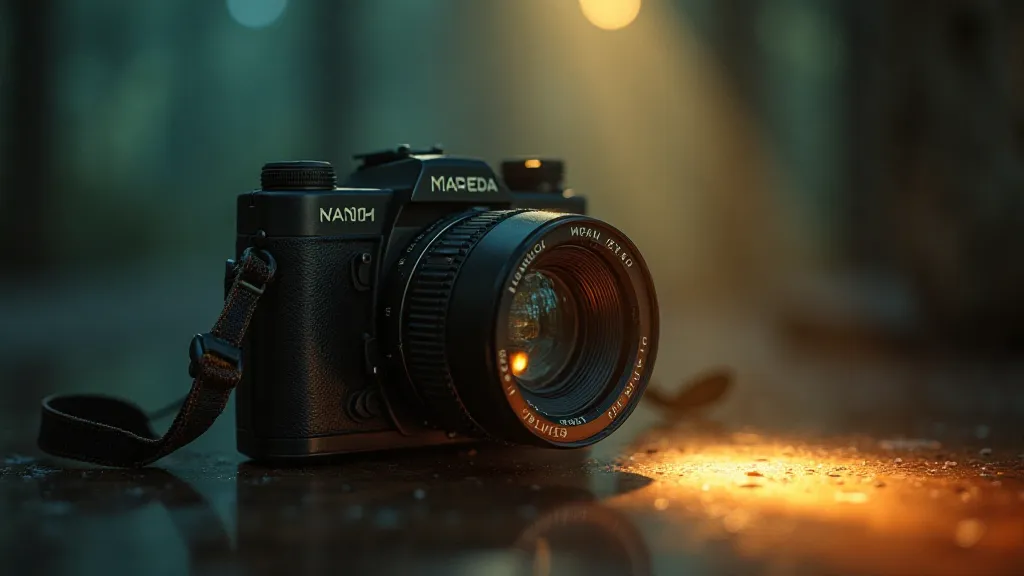
Common Problems with Antique Cameras & How to Fix Them
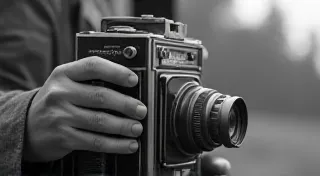
Owning antique cameras is a rewarding hobby, connecting you to a rich history of photographic innovation. However, these beautiful machines are also delicate and prone to age-related issues. Knowing how to identify and address common problems can significantly extend their lifespan and keep them functioning beautifully. This article will cover some frequent issues and offer simple troubleshooting steps. Remember, some repairs are best left to professionals; this guide aims at providing solutions for minor ailments.
1. Sticky Shutters: A Very Common Complaint
Perhaps the most frequently encountered problem with vintage cameras is a sticky shutter. Over time, lubricants dry out, and shutter blades can become gummed up. This results in slow shutter speeds, missed exposures, or a complete failure to fire the shutter.
Troubleshooting:
- Gentle Cleaning: Using a very fine brush (like a small artist’s brush), carefully remove any visible debris from the shutter blades.
- Silicone Lubricant: Apply a *tiny* amount of silicone lubricant (specifically for photographic equipment) to the shutter blades. Too much lubricant will attract dust and create more problems. A toothpick or cotton swab is ideal for precise application. Test a single exposure to see if it helps.
- Exercise the Shutter: After cleaning or lubricating, repeatedly fire the shutter at different speeds to distribute the lubricant and free up the blades.
2. Light Leaks: Dealing with Unwanted Exposure
Light leaks are another common frustration with antique cameras. These leaks allow light to enter the camera where it shouldn’t, resulting in unwanted patches or flares in your photographs. They often occur around the film door, viewfinder, or lens.
Troubleshooting:
- Inspect Seals: Carefully examine the camera's seals around the film door and viewfinder. Rubber seals often degrade over time and become brittle.
- Replace Seals (Advanced): Replacing seals is a more involved process, requiring specialized materials and tools. It’s often best left to a professional camera repair shop.
- Masking Tape (Temporary Fix): In the short term, carefully applying small pieces of masking tape to the suspected leak areas can help block the light.
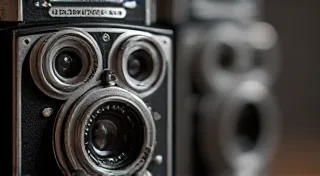
3. Fogged Viewfinders: Restoring Clarity
Fogged viewfinders significantly impair your ability to compose your shots. This is usually caused by fungus or moisture damage to the viewfinder lens.
Troubleshooting:
- Cleaning (Careful Approach): Use a lens cleaning solution and microfiber cloth *specifically designed* for camera lenses. Apply the solution sparingly and gently wipe the viewfinder lens. Avoid excessive pressure.
- Professional Cleaning: Severe fogging may require professional cleaning, including disassembly and thorough drying.
4. Mirror Issues (SLR Cameras): Addressing Reflections
For vintage SLR cameras, the mirror can become dirty, corroded, or even slightly misaligned, affecting the viewing experience and potentially the quality of the image.
Troubleshooting:
- Gentle Cleaning: Use a blower bulb to remove dust. If more cleaning is needed, use a lens cleaning solution and microfiber cloth very gently.
- Alignment (Advanced): Mirror alignment is a complex procedure best left to professionals.
Important Considerations & Disclaimer
Working on antique cameras requires patience and a delicate touch. Always research your specific camera model before attempting any repairs. These troubleshooting steps are intended as a guide for minor issues. More complex repairs should be entrusted to a qualified camera repair technician. Attempting repairs yourself may void any existing warranties and could potentially damage your camera.
Enjoy the fascinating world of antique cameras – and remember to take care of these historical treasures!